
Table of Contents
- Why Documenting Property Damage Early Matters
- Home Insurance Claim Documentation Checklist
- How to Take Pictures for an Insurance Claim
- Building a Home Inventory for Insurance Claim Support
- Using an Insurance Claim Damage Log Template
- Nevada Deadlines, Disputes, and Low Estimates
- Conclusion: Turn Documentation into a Stronger Claim
- Frequently Asked Questions
Last Updated: October 11, 2026
Why Documenting Property Damage Early Matters
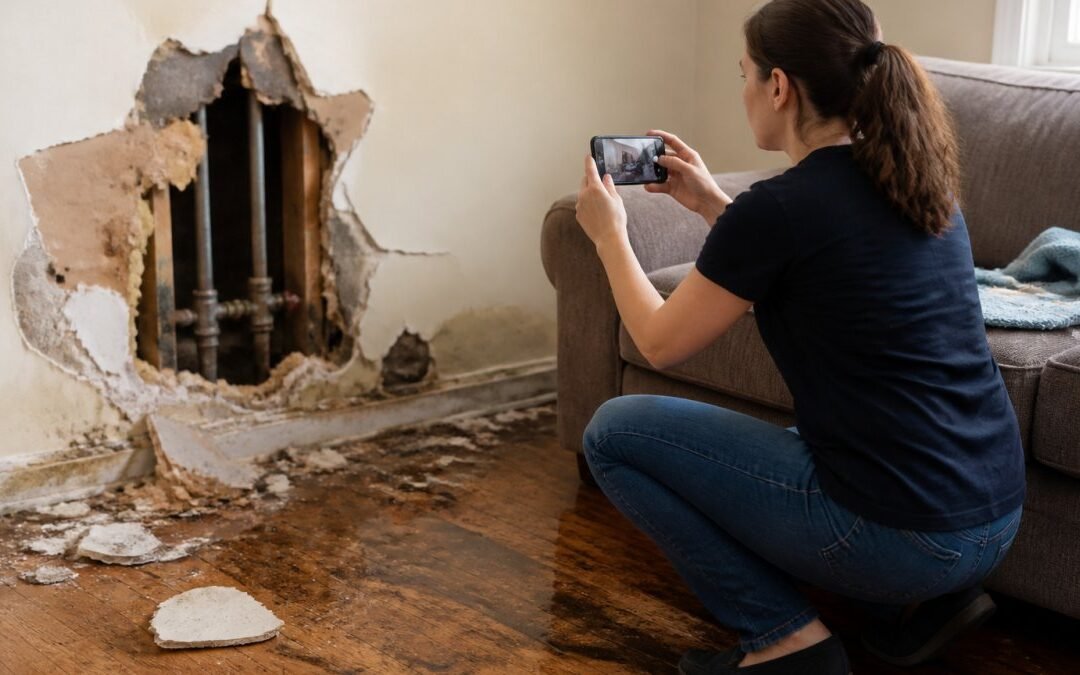
When a storm, fire, or burst pipe damages your home, the first 48 hours decide how much your insurer pays. Learning how to document property damage for insurance claim support is the single most valuable thing you can do before cleanup begins.
Here’s what most people get wrong. They clean up first and take photos later. By then, the water is gone, the broken glass is swept away, and the adjuster has nothing to look at.
This guide walks you through a property damage documentation checklist, a photo and video protocol, a home inventory method, and a simple damage log template. We also cover Nevada claim deadlines and what to do when an offer comes in low.
Evidence disappears fast. Photograph and record everything before you move, repair, or throw away a single item.
Home Insurance Claim Documentation Checklist
A complete home insurance claim documentation checklist covers six things: photos, video, a written log, witness details, receipts, and professional estimates. Miss one, and you give the adjuster a reason to question the rest.
Work through this list in order. Check each item off as you go.
- Date, time, and location of the damage written down
- Wide photos of every affected room or area
- Close-up photos of each damaged item
- A slow walk-through video narrating what you see
- Names, phone numbers, and emails of any witnesses
- A police or incident report number, if one was filed
- Receipts or bank statements for damaged items
- At least two written repair estimates
- Medical bills, if anyone was hurt
- A running damage log with every entry dated
Keep one folder, physical or digital, for everything. A claim record that lives in five places is a claim record that loses pieces.
How to Take Pictures for an Insurance Claim
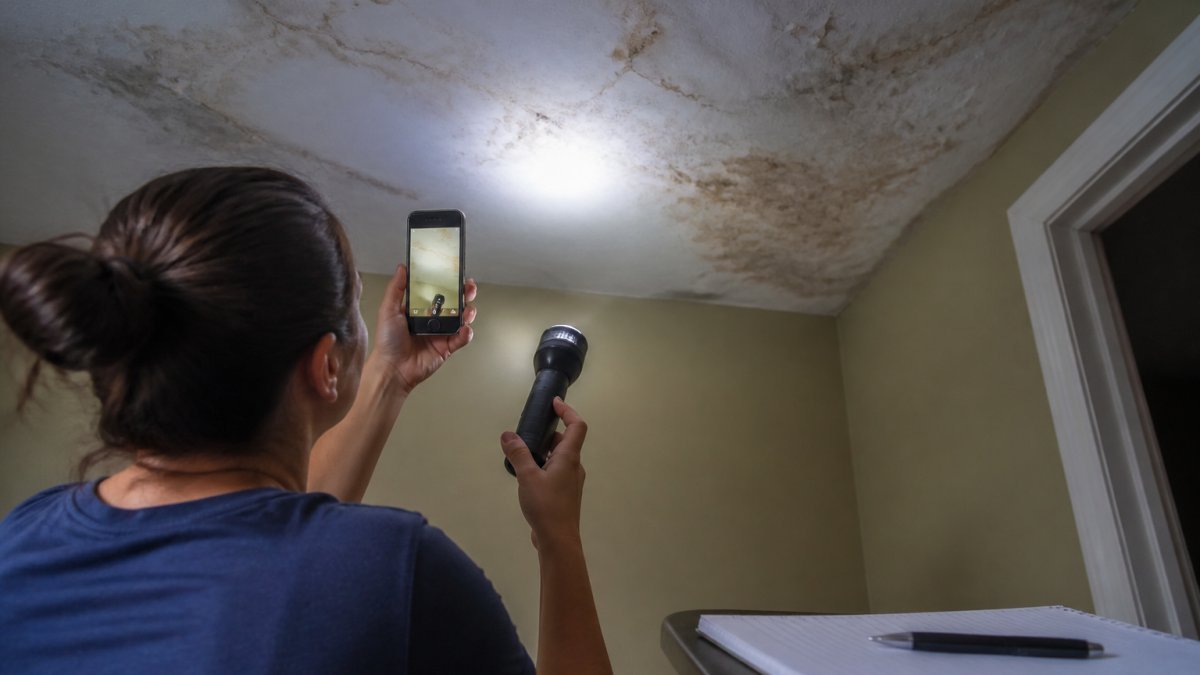
Good claim photos follow a simple rule: wide, then medium, then close. Start with the whole room so the adjuster sees the context. Move closer to show the damaged area. Finish with a close-up that captures texture, water lines, cracks, or burn marks.
A Room-by-Room Photo and Video Protocol
Work one room at a time and do not skip the boring shots. Adjusters routinely deny or reduce items they cannot place in context.
- Establishing wide shot. Stand in the doorway and shoot the entire room, including the ceiling and floor. This anchors every later photo to a location.
- Medium shot of the damaged zone. Frame the damage with a fixed landmark, a window, outlet, or doorframe, so the adjuster can judge size and position.
- Close-up of the damage itself. Get within arm’s reach. Capture cracks, water lines, burn patterns, mold, or broken components.
- Scale reference. Place a ruler, coin, tape measure, or your hand next to the damage. Without a scale, a crack can look like a hairline or a structural failure.
- Serial and model numbers. Photograph nameplates on appliances, HVAC units, water heaters, and electronics. This proves the item existed and supports replacement cost.
- Repeat after cleanup. Take a second set once the area is dry, cleared, or temporarily repaired. Before-and-after pairs are powerful evidence.
For video, walk slowly and narrate out loud. Say the date, the room, and what you are seeing. Turn on lights and open curtains so nothing is shadowed. Your phone is enough; you do not need special gear.
Preserving Metadata and Avoiding Red Flags
Insurers can flag altered images, and originals carry the metadata that proves when a photo was taken. Shoot in the highest resolution your phone allows and never edit, crop, or apply filters. Do not delete the originals after you upload them.
A common pattern is that homeowners take great photos but lose them when the phone is damaged in the same event. Upload to a cloud folder immediately, and name files by date and room (for example, 2026-10-03_kitchen_ceiling_01.jpg) so you can find them during claim review.
Shoot in the highest resolution your phone allows and never edit, crop, or apply filters. Insurers can flag altered images, and originals carry the metadata that proves when a photo was taken.
What to Photograph Beyond the Obvious Damage
Do not stop at the visible damage. Photograph:
- The source of the loss (burst pipe, tree limb, failed appliance) if it is safe to do so.
- Standing water, soot, or debris before you remove it.
- Items that were moved or ruined during mitigation, such as furniture or rugs.
- The exterior of the home, including the roof, siding, and foundation, if the loss involved weather.
- Any temporary repairs you made, with receipts for materials.
If you are unsure whether something matters, photograph it anyway. Storage is cheap; a missing photo can cost you part of a payout.
Building a Home Inventory for Insurance Claim Support
A home inventory for insurance claim is a room-by-room list of what you own, what it cost, and what it’s worth today.
You don’t need to inventory your whole house today. Start with the high-value rooms: kitchen, living room, home office, and garage.
For each item, record:
- Item name and brand
- Model and serial number
- Purchase date and price
- Current replacement cost
- Where you bought it
- A photo and the receipt, if you have them
Store the inventory in the cloud, not just on your phone. If your phone is lost in the same fire, so is your proof.
For business owners, treat commercial property the same way. Equipment, inventory, and fixtures all need the same documentation.
Using an Insurance Claim Damage Log Template
An insurance claim damage log template is a running record of every damaged item, every conversation, and every dollar. It keeps your claim organized and shows the adjuster you’re serious.
Copy this structure into a spreadsheet or notebook:
| Column | What to Record | Example Entry |
|---|---|---|
| Date | When you noticed or documented it | Oct 3, 2026 |
| Item | What was damaged | Kitchen ceiling drywall |
| Location | Which room or area | Kitchen, north corner |
| Cause | What you believe caused it | Burst supply line |
| Estimated cost | Your best guess or a pro quote | Repair estimate attached |
| Evidence | Photo, video, or receipt file name | IMG_1042, IMG_1043 |
| Notes | Anything else useful | Plumber report filed |
Update it the same day you learn something new. Note every call with your insurer or adjuster: who you spoke to, when, and what they said. If a dispute ever happens, this log is your memory.
Never throw away damaged items before the adjuster has seen them or given you written permission. Discarding evidence can reduce or void that part of your payout.
Nevada Deadlines, Disputes, and Low Estimates
Nevada gives you time to file, but not unlimited time. Under Nevada Revised Statutes on insurance claims, insurers must acknowledge a claim and respond within set periods, and policies typically require you to report a loss promptly. Check your own policy for the exact notice window, because missing it is one of the most common reasons claims get denied.
Nevada Claim Timelines You Should Know
Nevada law sets specific expectations for insurers handling first-party property claims. While the exact numbers can depend on the policy and the type of loss, the general framework is:
- Prompt notice. Most policies require you to report a loss within a reasonable time, often stated as promptly or within a set number of days. Report the same day you discover the damage.
- Acknowledgment. Insurers are generally expected to acknowledge receipt of a claim within a short window, commonly measured in days, not weeks.
- Investigation and decision. Insurers must conduct a reasonable investigation and either accept or deny the claim within a defined period after receiving proof of loss.
- Payment. Once a claim is accepted, payment is expected within a set period.
Do not confuse these insurance deadlines with lawsuit limitation periods. The deadline to sue over a denied claim is different from the deadline to file the claim itself. If a dispute escalates, consult a Nevada attorney about the statute of limitations that applies to your situation.
How to Respond to a Low Settlement Offer
If you get a settlement offer that feels low, do not accept it on the spot. Here is a step-by-step response:
- Compare line by line. Put the offer next to your repair estimates and your damage log. Identify exactly which items were excluded or undervalued.
- Ask in writing. Request a written explanation of what was excluded and why. Verbal explanations are hard to challenge later.
- Send missing evidence. Provide additional photos, receipts, or a second contractor’s estimate that addresses the gap.
- Request a re-inspection. If the adjuster missed damage, ask for a second visit. Be present if possible.
- Escalate internally. Ask for the claims manager or supervisor if the adjuster will not budge.
- Invoke appraisal if your policy allows it. Many homeowners policies include an appraisal clause that lets you and the insurer each hire an appraiser, with a neutral umpire if you disagree. This is often faster and cheaper than litigation.
- File a complaint. The Nevada Division of Insurance handles consumer complaints and can explain your options. Filing a complaint is free and does not require a lawyer.
Denials: What to Do Next
A denial is not always final. Read the denial letter carefully and identify the stated reason. Common reasons include late notice, excluded cause of loss, lack of proof, or policy lapse. If the reason is factual, you may be able to cure it with better documentation. If the reason is a coverage interpretation, you may need to challenge it in writing or seek legal advice.
Keep a copy of every letter, email, and call log entry. If you appeal, send your response in writing and keep proof of delivery.
Mitigation Still Matters
Keep in mind that damage mitigation matters too. If you leave a leak running and the damage spreads, the insurer may treat the new damage as preventable. Stop the source, make safe temporary repairs, save the receipts, and document everything before and after.
Conclusion: Turn Documentation into a Stronger Claim
The homeowners who get fair payouts aren’t luckier. They just documented faster and more completely than everyone else. Photos, a home inventory, a running damage log, and prompt filing do more for your claim than any argument after the fact.
If you’re in Las Vegas and want help before a loss happens, United Family Insurance can review your coverage and make sure your policy actually protects what you own.
Get started with United Family Insurance and turn your next claim into a calm, well-documented process instead of a fight.
Frequently Asked Questions
What should I document for a property damage insurance claim?
Photograph and video the damage from multiple angles, close-ups, and wide shots showing the location. Write down the date, time, and what happened. Collect witness names and contact information. File a police report if required. Keep receipts for emergency repairs, medical bills, and any temporary lodging. Create a damage log listing every damaged item with its age, value, and proof of ownership. This documentation supports your claim and helps the adjuster process it faster.
How do I take photos for an insurance claim?
Start with wide shots showing the entire room or vehicle, then move closer to capture specific damage. Use good lighting and avoid filters. Photograph any serial numbers, brand labels, or receipts next to the damaged item. Take a short video walking through the scene to show context. Include a ruler or coin for scale when photographing small items. Save original files with timestamps and back them up to the cloud. Do not delete any images, even blurry ones.
Should I make temporary repairs before the insurance adjuster arrives?
Yes, you should take reasonable steps to prevent further damage, such as covering a broken window or tarping a leaking roof. Keep all receipts for these emergency repairs. Do not make permanent repairs or throw away damaged items until the adjuster has inspected them. Photograph the damage before and after temporary repairs. Your insurance policy requires you to mitigate losses, and failing to do so could reduce your settlement.
How long should I keep records for an insurance claim?
Keep all claim records, including photos, receipts, correspondence, and the final settlement, for at least three to five years after the claim is closed. Nevada’s statute of limitations for written contracts is six years, so retaining records for that period is safer. If the claim involves injuries or ongoing damage, keep records longer. Store digital copies in cloud storage and paper copies in a safe place. These records help if you need to dispute a denial or file a supplemental claim.